Saturday 28 July 2012

Learning Blender (Day 7) - Adding details and creating the other side of the street.

Here's how the place was looking at the end of Day 7:


I've added blocks to the front walls, arches to the front doors, windowsill ledges and gave the chimneys a little more character by adding those round things you find on the top... I've also added another  mirror modifier as you can see, to duplicate the other side of the street.

That was only really to see what it looks like with two sides of a street done. In reality, the other side of the street is slightly different to my side of the street. As practice for speeding up my modelling, I've tried modelling the opposite side of the street completely from scratch to see how far I could get in forty minutes. It wasn't quite far enough for my satisfaction, so I kept going. Here's how it looked after about two hours, with occasional distractions.

As you can see, the main difference is in the layout of the front window on the bottom floor.

I managed to make the basic shape, added the windows and door shapes, added the arches above the applicable window and door (according to a look out my window, the top windows in the houses opposite don't actually have arches. I'm not sure why...), added the windowsills, gave the chimney some character, added drainpipes and guttering, and added the front walls with some character and a plane for the dividing fence between the properties. I think this would probably be enough for a low poly game, at least for buildings that players never go into or see behind.

For more realism I suppose I would add the round things on the tops of the chimneys, and the TV aerials, but perhaps those are best done separately later anyway as they aren't all the same with some having extras and others missing some. The arches also have keystones that stick out slightly, which you don't find on the buildings on my side of the street.

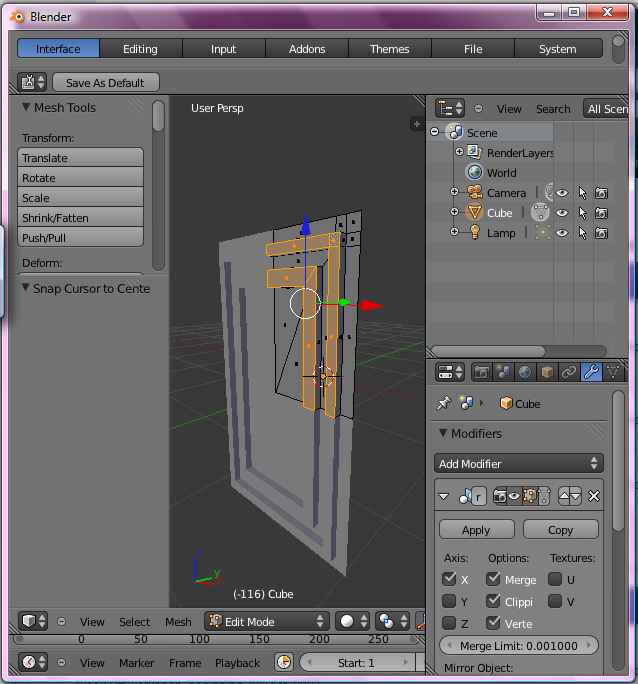
Other than that I think the only thing I would do is tidy up some of the vertices to give it fewer polygons, for example, that line going straight down the side of the house would be removed, as would the faces for the houses not on the ends of the row and the floor faces I used as guidelines underneath it.

I'm thinking that today (Day 8) I'll read through Chapters 9 (Materials and Textures in Blender) and 10 (UV Unwrapping and Painting), have a bit of a play as I do, and then later tonight try another forty minute modelling-from-scratch challenge and see how it goes.

Thursday 26 July 2012

Learning Blender (Day 6) - Modelling a Cardiff street.

Beginning yesterday evening, through to this afternoon, I've been working on a low-poly street; this time in Cardiff. Here's how it's looking today:

This is actually the street I live on...

So far I have done the basics of the fronts of the houses and the base, given the windows their characteristic arches on the upper edge and some windowframes, and added simple drainpipes and chimneys. I'm using Google maps for reference and utilising the Modifiers so that I only have to work on one house, and it updates the rest of the houses in the street.

From what I learned of the tutorial from my previous post, it should not be taking me a day to do one house, but something more like 40 minutes. I think I'm taking my time for a couple of reasons, one being because it is my own street. The other reason is I'm being distracted by the game of Assassins Creed my housemate is playing. Hopefully with experience I will be able to knock out the basic form for a whole street a lot faster.

However, the plus side of choosing these streets in Cardiff to model is that they all look quite similar in this area (a couple of times last year I had absent mindedly turned right too soon when walking back to my own house, only noticing my error halfway down the road), so it will be quite easy to make up a number of streets from this first house quickly, making only minor adjustments to define each street.

Monday 23 July 2012

Learning Blender (Day 4) - Modelling a Low Poly Building for Games

www.pxleyes.com/video-tutorial/maya/15684/How-to-Model-a-Low-Poly-Building-for-Games.html

I found the video tutorial above that showed me someone creating a New York style building asset in about 40mins using Maya. Be warned; I had to turn the volume up on my laptop to hear it, and then he spent a lot of time talking quietly to himself - although that was mostly him thinking aloud about what shapes to make things and stuff like that... But other than that, it was worth watching to me.

I tried following along in Blender, and succeeded! Here's a screenshot of the wireframe and a render I lit with some coloured lighting. 

Definitely need to figure out how renders work...

The lighting was partly for fun... I'm likely to spend some time at some point learning how to light things properly and better, but I thought this would do for now since I'm focusing on learning the modelling tools first.

Sunday 22 July 2012

Learning Blender - with Essential Blender (Day 3)

Here's what I've been working on today, for the model of my bedroom I'm going to make for practice and portfolio.

Tah dah!

I've modelled one of the doors in my bedroom. Still needs its handle though, and a hook, but I may do those separately since there are a few hooks in my bedroom.

I'm also hoping I get faster - this simple door took me almost all day.

What visual games photorealism crisis?


http://killscreendaily.com/articles/visual-games-photorealism-crisis/

Just came across this post from over a year ago. I don't know if the focus of discussion in the gaming world has moved on by now since I haven't been paying attention a whole lot, but I have to say that I really don't agree with the thought that the photorealistic approach is "... a dead-end street, an aspiration that, once perfectly achieved, leads to a death of possibility."

Instead, I see it as a route to more tools that allow us to create realistic-looking representations of fantasy and imaginary worlds. Just look at the Avatar film. Focusing on the world environment itself, so much of it looked like nature documentaries I had seen literally that morning that I could easily imagine that this was a whole functioning other world, similar to ours, but very different. I know I'm talking about a film here, but I think with games it can also apply.

But not even just fictional fantasy worlds; photorealism can be used to represent all sorts of historical places and events realistically and factually too for us to explore - a bit like in the Assassins Creed games. And the number of possible events or locations during specific times/eras to re-present in a gaming experience grows literally every day.

Gaining tools to create photorealistic stuff is NOT what would lead to the death of possibility. Believing that the only goal is attaining photorealism, and ignoring the fact that it's not the only thing worth pursuing, is the mistake that may lead to the death of possibility - and even then, ONLY in the minds of the people who believe it. While they cry over the fact that they just created the last game worth creating visually, the rest of us will be enjoying the tools that have been created for our own entertainment, educational, or exploratory purposes.

When considering the Big Picture, photorealism should never be seen as the ultimate goal; it's just a useful tool worth attaining to help us accomplish other goals. No one should forget that.

Saturday 21 July 2012

Learning Blender - with Essential Blender (Day 2)

Here is where I've reached this afternoon:


Unfortunately, I seem to have forgotten many of the keyboard shortcuts I've learned, so I will have to make this pillar all over again to try to program those shortcuts into my brain and body!

21st July 2012, 8.45pm -
There we go! Finished that section of the chapter. Here is the bridge it told me to make, with the render flowing into the wire-frame image.


Friday 20 July 2012

We're making mead!

Home brewed mead, mmm mmm! A few days ago when Sam Irving was around, we put together some honey and water into must (he got some cool trickling images recorded on camera somewhere) and added some yeast nutrients and yeast to that honey-water must mix. Now it's bubbling away in the demijohn with a slight fizz in the main part and a gentle rhythm in the airlock.

White Tiger guards it.

Don't worry, we sanitised everything first! Some sanitised drops of liquid even accidentally dropped into the demijohn from the funnel because it was put on before I had rinsed it. Some people get too excited...

17th July 2012, 7.53pm -
The bubbles going fast! like four a second!

18th July 2012, 11.28am -
This morning it is fizzing just loudly enough to make me think the boiler was doing something until i got up and found out the boiler wasn't doing anything. Also there's a slightly sweet smell in the air down there! 

Hope it tastes good when it's done!

Learning Blender - with Essential Blender

I'm finally getting around to going through the Essential Blender pdf book that I bought. Today, I have manipulated vertices, edges and faces, moving them around and extruding them in Blender for the first time.

I'm so happy. I'm so excited.

I'm so close to getting back to the level of knowledge I had in a 3D modelling program, one that I had access to until I graduated last year, when suddenly I lost access to that legit student version of Maya I have installed on my laptop.

Not content with the idea of pirating a copy just to make masterpieces of 3D game art for a portfolio or for my own devilish purposes, I backed away from 3D art completely until coming across the Autodesk 123D beta a few months ago. When I found out how to put a shiny texture onto on object imported into Blender, I saw the joy again.


That's the romanticised version. In truth, I wanted to try starting up a business selling something artistic I had created - but I suck at business. It's all very well knowing it by a book but, with entrepreneurship, you've got to be good at doing it.

So, it is time to get a job, preferably in the game biz making 3D objects for a game that I can later hear other people talking about playing, or maybe even with a company that needs renders of buildings that aren't built yet. But before I get a job, I need to give them something to show them that I can model, unwrap UVs, texture realistically and fantastically, and maybe a spot of rigging and animating.

Follow this blog to check my progress! :)

3D printing jewellery with Shapeways: Halting my exploration.

Four months after first getting into 3D printing at Shapeways, I've come to the decision to stop.

It's all very interesting, and I love that I can order something that is a real life version of a piece of jewellery I created out of imagination digital bits. The only problem however, is that to get the item made real, you DO have to shell out a bit of money. And for a girl with currently no income but the interest on her savings, it's not an economically viable hobby to immerse myself in.

I mean, yes, there is a potential to make money from these things. But without the luck and the drive to get those items both seen and make them desirable enough for people to actually buy, instead of simply drooling over screenshots or photographs, it's not something I'm likely to earn enough money to live off.


Unless it's something they already want, I'm not very good at making people buy things from me via the internet. I'm finally going to admit to myself that marketing and business is not really my passion and it's not my forte - at least, not in the real world. Give me an in-game auction house filled with rich people who can't be bothered to slay little dragonwing things for eggs and I'll be loving it, but only until I realise I won't be able to pay the bills to play the game anymore.

Getting back to the subject at hand: I can keep the shop there on Shapeways open, as it currently does not cost anything to list something and it's all automatic so there is no need for the shop keeper to turn up everyday. Perhaps I will continue to upload new bits and pieces occasionally, and if anyone commissions me to design them a piece of jewellery or other object like that using Shapeways, or any 3D printing service, I'd happily put into practice what I've learned over the past few months.

But now... now is the time to acquire a proper job. One where I get to do something creative, but I get told what that creative thing is and when they need it done by and that they are paying me to do it. I'm currently thinking 3D Environment Artist for games. Some people find it boring, but those people want to be making the moving characters for the games, not the worlds in which those characters live.

Games biz. You are on my to do list.